More on the Dressage Clinic
The dressage clinic did not go as I expected. I thought we were going to ride the dressage test that we’d selected and the clinician, Val Vetos from Volte Equestrian, was going to give us a few tips on how we could improve our scores.
I got a lot more out of the clinic than that — a whole lot more.
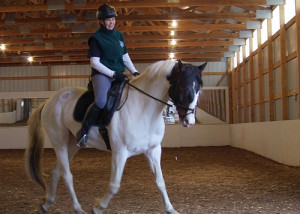
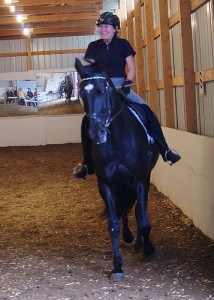
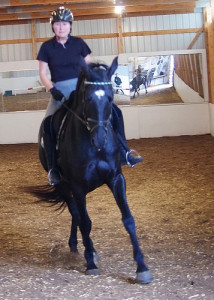
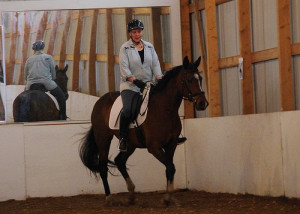
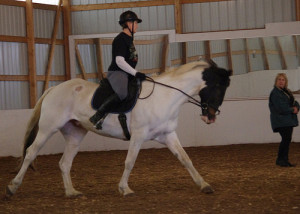
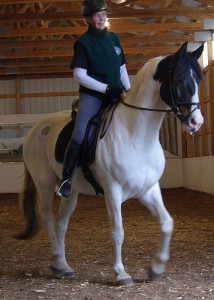
I’ll try to describe what I learned. Hopefully I’m interpreting things correctly. If you aren’t into horses, just click through and enjoy the photos. None of these photos are of me as I was, well, riding. Instead I have photos of the other wonderful riders.
Val started with asking each rider what issues they felt they were having with their horse that they would like to work on.
My answer was that I wanted upward and downward transitions to be more exact, without any gaited steps. I also needed help knowing when Luke was in a true canter. Also, Luke tends to struggle against contact with the bit. He is happiest and goes forward the best if I only have contact with one rein or the other, but I knew that wasn’t really correct.
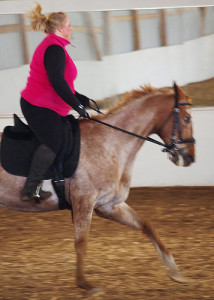
That gave us enough to work on for a 45 minute lesson. I discovered that Luke is capable of a true canter and for now, I need to concentrate on the rhythme and not worry about how collected he is. He needs to go a little faster to remain true in the gait for the time being.
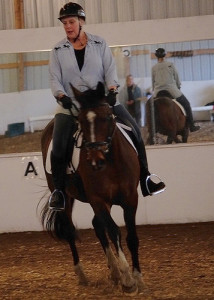
While I rode, Luke was dropping his shoulder to the inside so Val told me to grow an extra rib on that side. She had me put my inside hand straight up over my head to get the feel of lifting the rib cage. It made a big difference.
Val worked with me on how much pressure to have on my reins by having me keep pressure on the outside rein and think of turning a key (turning my wrist towards the inside) with my inside hand to bend and turn the horse. That’s about all the pressure you should want or need and it worked for me. During this ride, Luke was the most relaxed and on the bit that I have ever experienced with him.
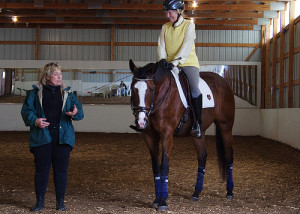
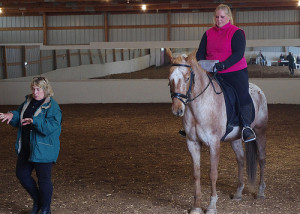
Whenever I would take a walk break, Val would go back to the group of observers and reiterate what we were working on and give people a chance to ask questions. After the lesson, I rode my dressage test (shown in yesterday’s post), and Val went through her scoring and comments. I then had a chance to ride portions of the test I’d struggled with.

One of the things I hadn’t brought up as an issue, but should have, was Luke’s free walk. Val said the movement should be very swingy and the horses stride should lengthen. The horse’s tail and the rider’s hips should be swinging, similar to the way you tried to walk all sexy-like as a teenager. Who knows, maybe you still do move that way.
The neck should stretch out and down for the bit. The head can be vertical but not behind the vertical. To lengthen your walk and add swing, you shouldn’t push with your seat or use both legs at once. Instead you should alternate your legs and allow your hips to freely follow the movement.
Because Luke does not reach for the bit, she suggested I have someone walk in front of us with treats. She’s used this technique and it gets the idea across to the horse so you eventually don’t need the treat.
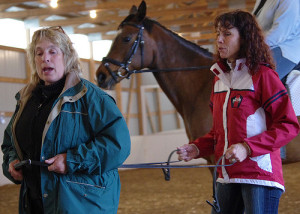
In between rides and during breaks, Val talked to us about various things. She showed us how we can practice a half halt by sitting in a stool and trying to lift the back legs up.
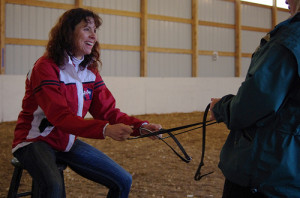
How we can work on finding our core and using it by having someone try to pull us foreward with a set of reins.
Val had some people ride while holding a stick gripped through the thumbs on both hands. The stick was about the width you want to keep your hands apart. People said this made an amazing difference and you could see it in their horses. Horses that were doing what Val referred to as having a Woody Woodpecker head (head going up and down) became more still when the rider kept a more even pressure on the reins and their hands were quieter.
Another tool Val used was an empty tissue box balanced between your hands.
When doing a leg yield, Val told us to imagine we are in kayak. We don’t want to lean to one side or the other or we’ll tip over. And to tell if the hind leg is moving over when leg yielding, you should feel a dip in your hip.
We were told not just use our inside leg to bend and move laterally. You need to contain with your outside leg. When you are leg yielding to the wall, it’s your outside leg that should stop the lateral movement, not the wall. To make sure, practice stopping before the wall or in the center of the ring.
I liked that Val used a great deal of imagery in her instructions. When I first started riding and was having trouble with sitting the trot, I was told to imagine my spine was made of spaghetti. I was instantly able to sit the trot with that image in my mind. Val’s image for sitting the trot is to think of riding a bicycle backwards (not forwards!). Since Luke’s trot is so bouncy, I’ll have to try using that imagery next time I ride.
As I said in my previous post, I took a ton of photos. I was working on my timing, on finding the angles most complimentary to horse and rider and I wanted to take photos that depicted the magic of riding (definitely not too good at that yet). I also am trying to get better at framing. More is captured in the photo than I see in the viewfinder and I’m trying to get better at judging how much of the space to fill.

With both riding and photography, there’s lots of practice, trial and error, and then there are those moments of capturing exactly what you were hoping for. And that makes the work all worth it.

Looks like you got a lot of good tips. What fun!
Reading this is fascinating..thank you so much for sharing it all!
Interesting. It reminds me of mountain biking, all the little adjustments you can make with your body and the constant thinking of what you’re doing. I like that aspect of it. 🙂 Great pics!
Loved this post!! You mentioned a few techniques that I’m going to try with my Ladde. I love riding with imagery too…very helpful. Thanks for sharing! I love how so many riders are fretful and hesitant about attending a clinic for one reason or another; and then afterwards, they are astonished at how much they learned and how much fun they had!! Reason enough for me to do more and worry less…
Your photos were wonderful! I enjoyed them all. And thank you for sharing all of the helpful tips, too. It’s interesting how imagery can be so beneficial when riding and doing minor adjustments to our bodies, isn’t it?
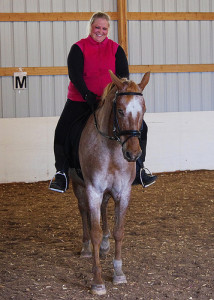
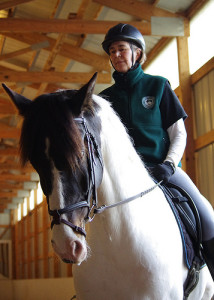
I noticed that all of the horses are wearing the same type of bridles or headstalls. I have no hands-on experience with dressage, but are these dressage bridles?
Are they better for communication while riding dressage?
I’m glad to read that you enjoyed the clinic and got so much out of it, too.
~Lisa
C-ingspots – When I was worrying that I was wasting my time riding in the clinic because we’re not planning on showing anyway, my friends told me I would learn something and learning is never a waste of time. And they were right.
Lisa – Val is putting together a whole booklet of images to help riders better understand how to ride. She is my kind of instructor. Not everyone uses a drop nose band but I guess we all do. I guess it helps keep the horse from avoiding the bit which is generally just a plain old snaffle. We did have a discussion about how sometimes people worry about mixing English tack with western tack and Val says it really doesn’t matter. You use whatever works as far as you bit and bridle as long as you stay within competition guidelines. There are now even western dressage competitions.